DIY Russian-Style Manicure on Natural Nails: Step-by-Step Tutorial
This educational demo shows the main stages of Russian-style natural nail prep, including shaping, light surface refinement, cuticle-area work, e-file control, and finishing care.
It is designed to help beginner nail students understand what to observe in the workflow. It should not be treated as a replacement for hands-on correction from an instructor.
Russian-style manicure requires more than a clean-looking result. The technique depends on pressure control, tool angle, sanitation, anatomy awareness, and knowing when not to continue. Use this demo as a learning reference before supervised practice.
Tools Used in the Demonstration
The demo uses common manicure prep tools: an orange wood stick or gentle cuticle pusher, a natural nail file, a soft buffer, loose powder, an e-file with a fine flame bit, sterilized cuticle scissors, cuticle softener, lint-free wipes, dehydrator, cuticle oil, and a soft brush.
For students, the important point is not just the list of tools. It is understanding why each tool is used, when it is appropriate, and how much pressure is safe.
Stage 1 - Gentle Cuticle Assessment
The demo begins on clean, dry hands. The cuticle area is gently assessed and lifted with an orange wood stick or soft pusher.
This stage is not about forcing the skin back. It is about seeing what is already lifted, what is attached, and what should not be touched.

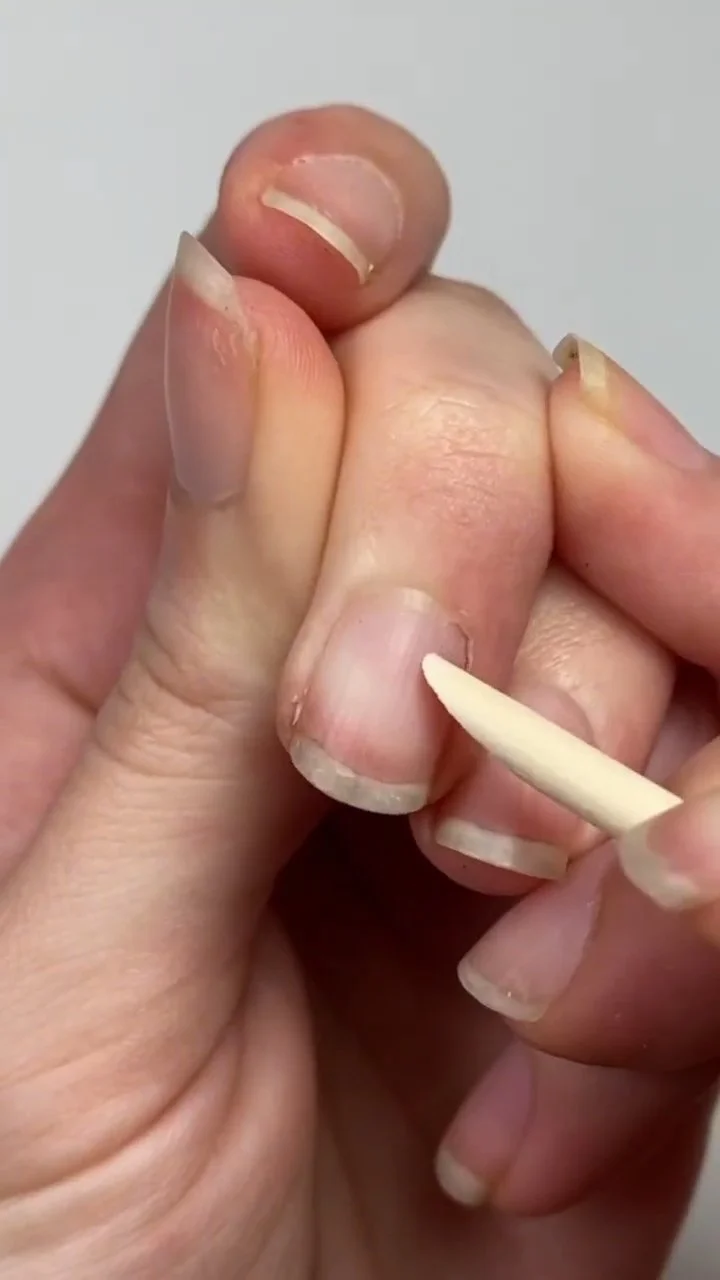
Stage 2 - Natural Nail Shaping
The free edge is shaped with a nail file using controlled movement. The goal is to refine the natural nail without weakening the sides or creating unnecessary stress.
Students should pay attention to the direction of the file and the way the nail is supported. Good shaping is steady and intentional, not aggressive.
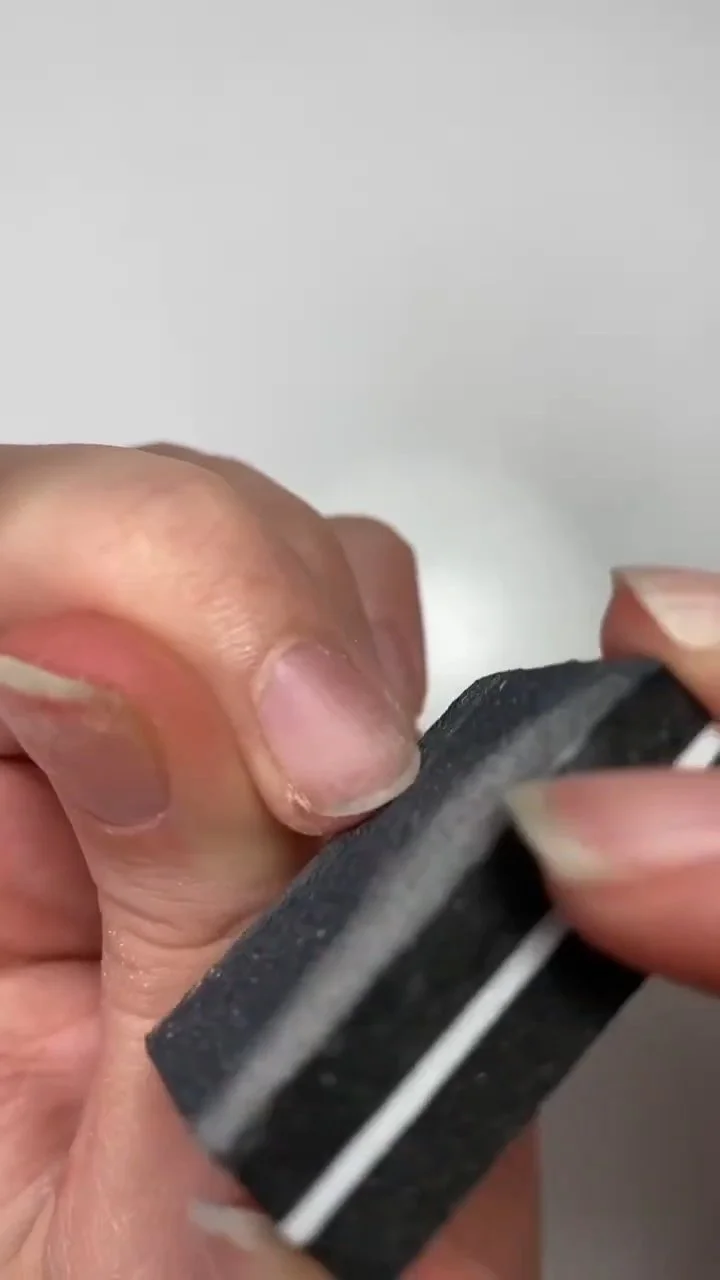
Stage 3 - Light Surface Refinement
A soft buffer is used to lightly refine the nail surface. This is not the same as thinning the nail.
The goal is to smooth uneven areas and improve visibility, especially around the cuticle zone where dry skin may still be present. Students should notice how light the movement is and how little pressure is needed.
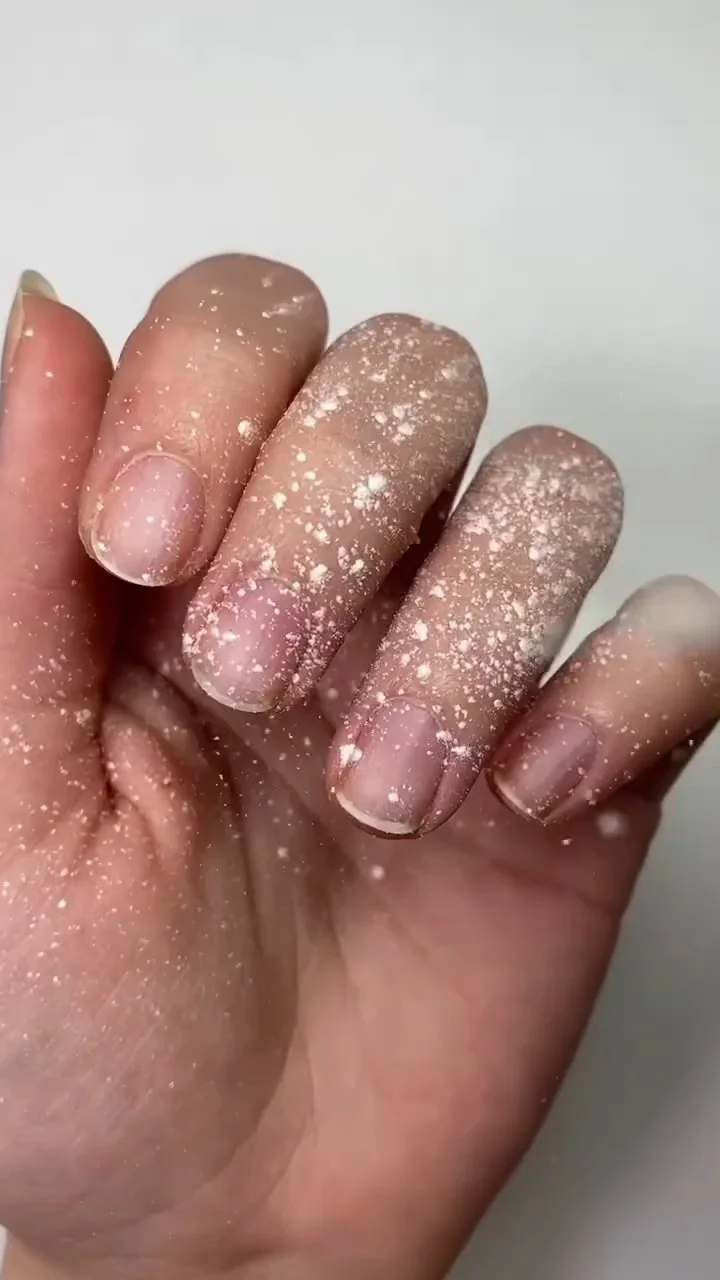
Stage 4 - Preparing the Nail for Better Visibility
Loose powder may be applied lightly to absorb moisture and make dry areas easier to see. After that, excess powder is brushed away.
This is a visual step. It helps the technician notice small areas of dry skin or uneven texture before moving into more detailed work.
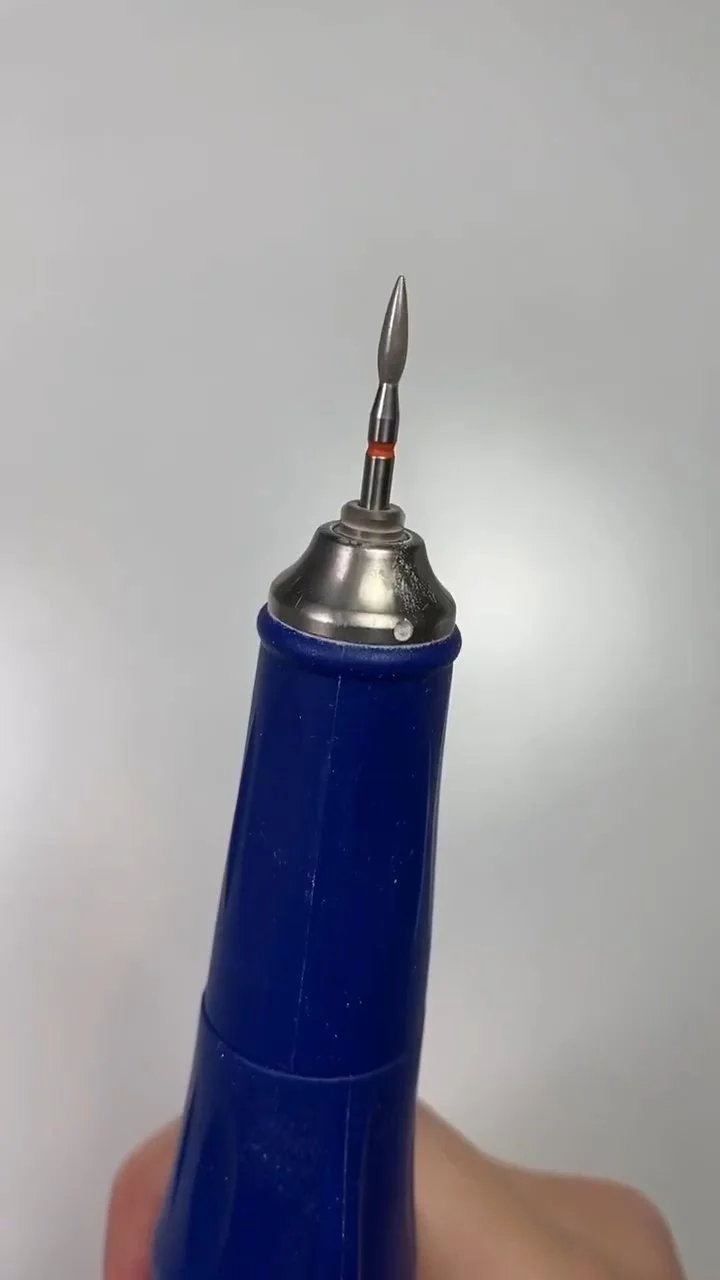
Stage 5 - E-File Setup and Safety Awareness
In the demo, a fine flame bit is used for detailed cuticle-area work. Bit choice, speed, pressure, and direction should be learned with professional guidance.
The e-file should never feel like a forceful tool. Students should observe how the hand is stabilized, how the bit is positioned, and how the movement stays light.
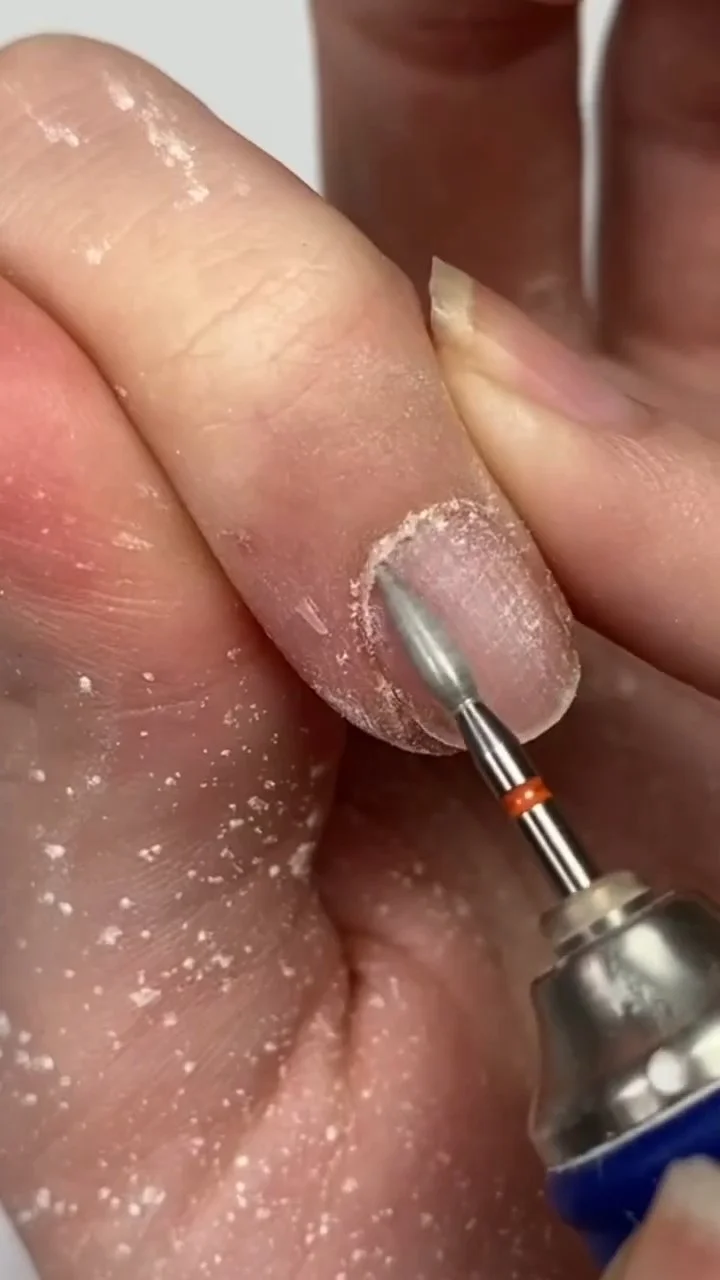
Stage 6 - Controlled E-File Movement Around the Cuticle
The e-file is used around the cuticle area with careful, controlled movement. The bit should stay in motion and should not press into the nail plate or surrounding skin.
This is the part of the demo where instructor correction matters most in real training. Small changes in angle, pressure, or hand support can completely change the result.
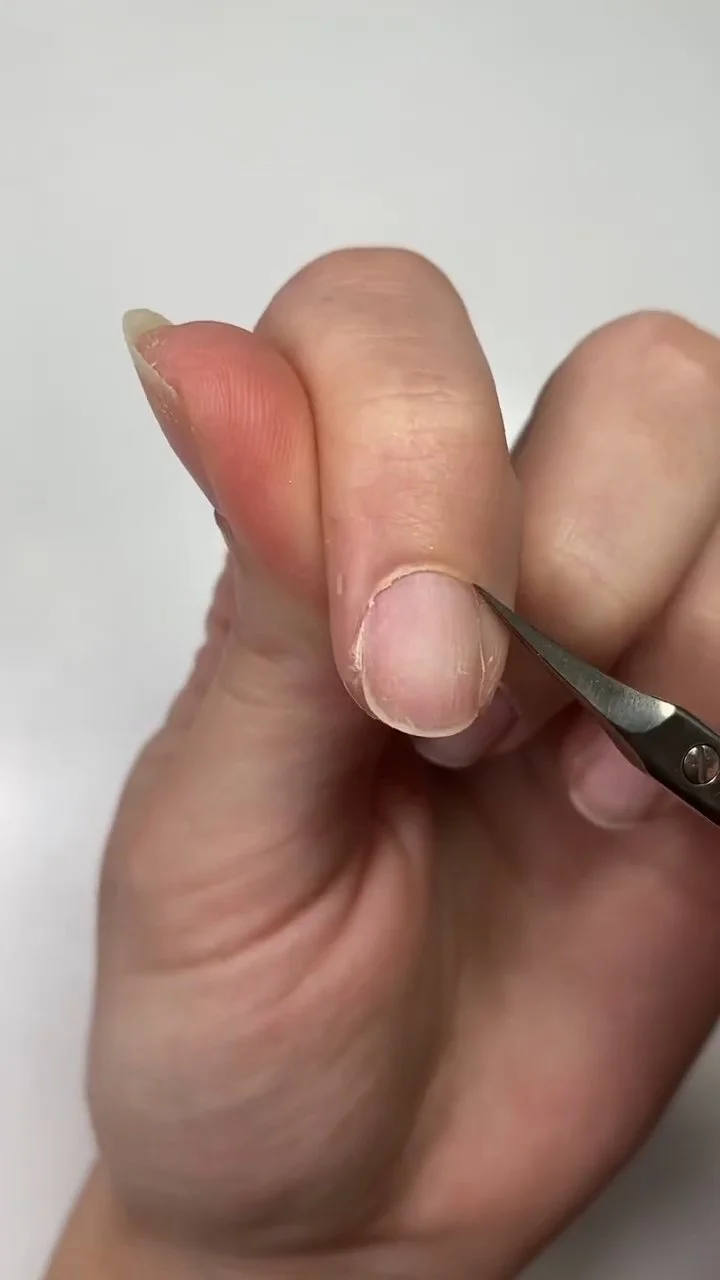
Stage 7 - Careful Scissor Work on Lifted Tissue
The demo shows careful scissor work on lifted dry tissue. This step requires sanitation, anatomy awareness, and a steady hand.
Scissors should not be used to chase a perfect line or cut living skin. For beginner students, this stage should be observed with caution and practiced only with proper supervision.
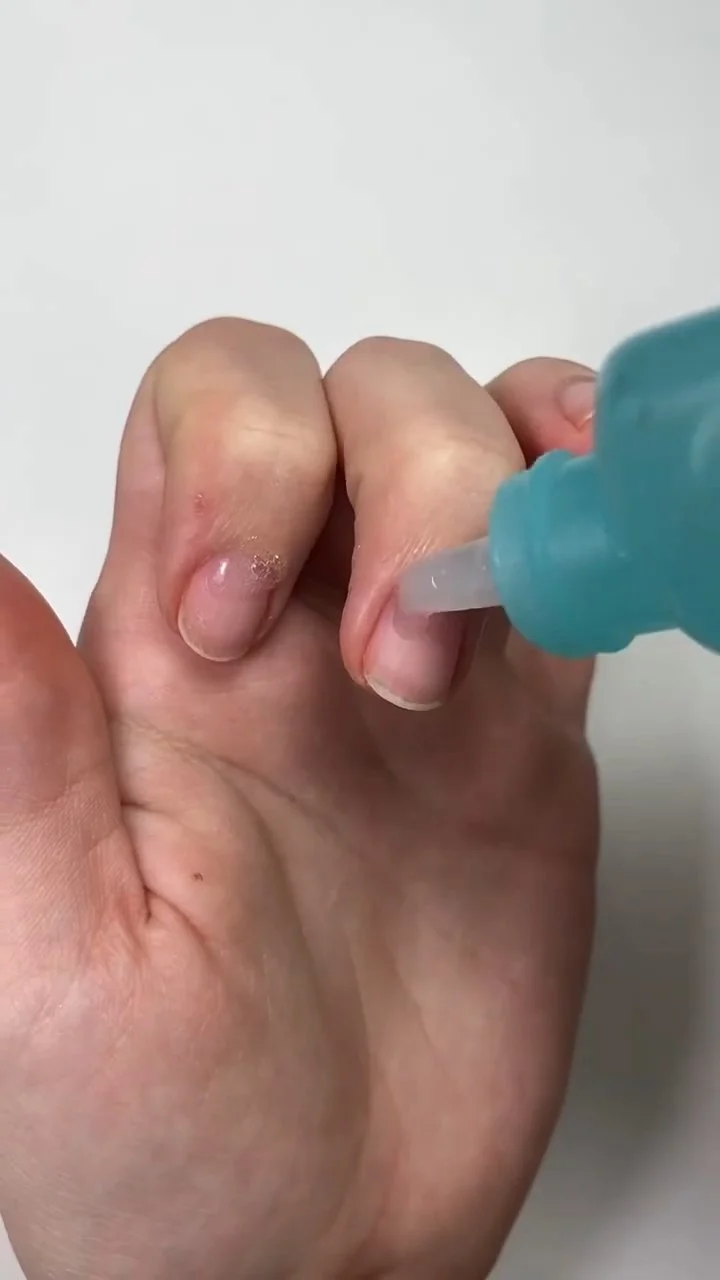
Stage 8 - Softening Remaining Dry Areas
A small amount of cuticle softener may be used to help remove remaining dry areas. The product is applied carefully and removed with a lint-free wipe.
This stage is not always necessary. Professional workflow is flexible, and the technician chooses steps based on what the nail needs.
Stage 9 - Cleaning the Nail Plate
The nail plate is cleaned with a lint-free wipe and dehydrator to remove residue and oils.
This creates a clean surface for a natural finish or for future product application, depending on the service plan. Even when no gel is applied, the nail should be left clean, balanced, and comfortable.
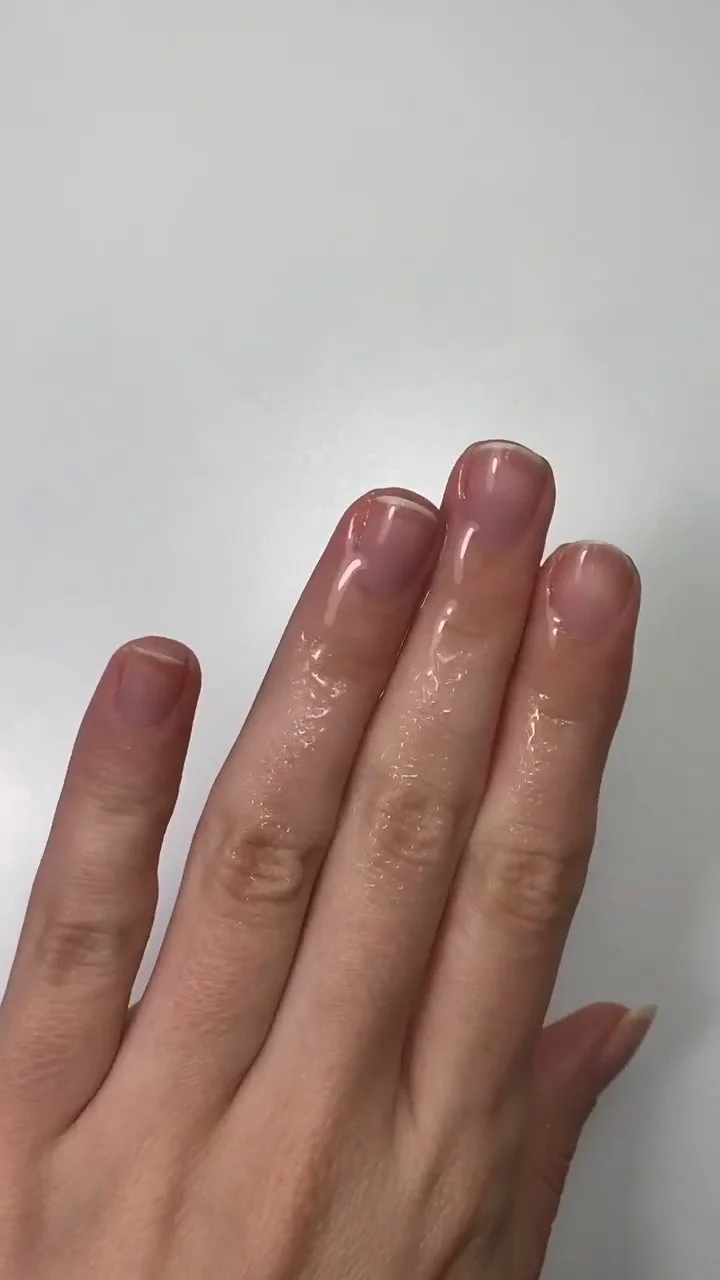
Stage 10 - Finishing With Cuticle Oil
The demo finishes with cuticle oil to restore comfort and give the skin a healthier-looking finish.
A clean natural nail result should not look irritated or overworked. The final look should be neat, soft, and balanced.
Watch the Demo With Safety in Mind
A video demo can help students understand the order of the service, the tools being used, and the visual details of natural nail prep.
But video cannot correct pressure, adjust bit angle, or tell a student when the hand is too tense. That is why hands-on correction matters, especially when learning e-file work and cuticle-area technique for the first time.
Next Step for Beginner Students
Russian-style manicure is a technical skill. It requires practice, sanitation awareness, and instructor feedback before working confidently on real hands.
Use this demo to understand the workflow and observe the details. Then build the foundation with supervised practice.
Ready to learn with instructor correction? View the Russian manicure course for beginners at Mars Nails School.